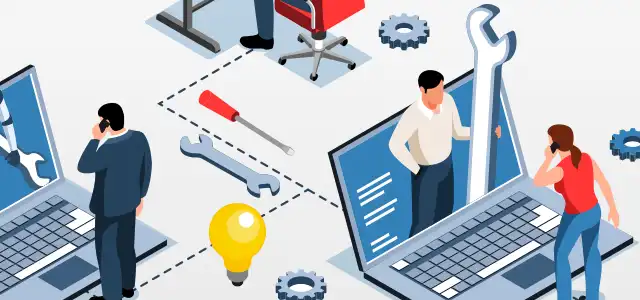
Main Menu Dept. of Technology Services Search

Android MDM Setup and Installation Instructions

  • These instructions describe how to set up and install Intelligent Hub (i.e., AirWatch or Mobile Device Management [MDM]) and Gmail on an Android device. For instructions on work managed device enrollments, see the Work Managed Android Device Enrollment Instructions page.
  • These instructions have been created using a Verizon Samsung Galaxy S7. Screenshots, menus, and wording may vary depending on the model of phone and Android version.
    1. Open the Google Play Store.
      Note: If this is your first time logging into the Play Store, you will need to sign into your State Google Account.

      Android Home Screenshot
    2. Once you are signed in to the Play Store, type Intelligent Hub in the search bar and click Install.
      Play Store Screenshot Play Store Screenshot
    3. Open the app after the installation is complete.
      Play Store Screenshot
    4. When the app opens up, enter the following server details and then select Next.
      • Server: mdm.utah.gov (this may auto-correct “https://” in front of it – this is okay)
      • Group ID: sou
      Intelligent HUB settings Screenshot Intelligent HUB settings Screenshot
    5. Select Allow or Deny for the Hub to make and manage phone calls.
      *The notification shown in the following image may or may not occur during this step 5. It may appear at any time during enrollment.

      Intelligent HUB settings Screenshot
    6. In the Username field, type your Utah ID (i.e., your username only, leaving out @utah.gov), and in the Password field, type your current password. Then select Next.
      Intelligent HUB settings Screenshot
    7. Select the type of ownership (the most common selection is Corporate Owned), and select the down arrow under Details to confirm the type (again, the most common selection is Corporate – Dedicated.) Then select Next.
      Intelligent HUB settings Screenshot
    8. Select I understand once you have read and agree to the data collection and Hub permissions.
      Intelligent HUB settings Screenshot
    9. Set your data sharing preference by clicking I Agree or Not Now.
      Intelligent HUB settings Screenshot
    10. Select Agree to proceed with the download and installation of Android for Work.
      Intelligent HUB settings Screenshot
    11. Select Next to setup your work profile.
      Intelligent HUB settings
    12. Select OK to acknowledge the following note:
      Android Settings More Screenshot
    13. Once you have reached this screen, the process for enrolling your device is complete:
      Intelligent HUB settings ScreenshotIntelligent HUB settings Screenshot
    14. At this point, when you open your home screen you will see that a Work folder has automatically been created for you. The Work folder will contain any application that DTS has configured to be installed in that location. It also houses any apps you have downloaded under the Work Google Play Store.
      Android Homescreen Screenshot

Managing your Device

To manage your enrolled device, log in to the Device Self-Service Portal (https://mdm.utah.gov/mydevice) from a computer. The Self-Service Portal allows you to perform basic mobile management tasks for your device(s), including viewing device details, performing enterprise-wipes, locating your device, and other useful tasks.

To gain access to the Self-Service Portal, enter the following details and then select Log In.

  • Group ID: sou
  • Username: your Utah ID (i.e., your username only, leaving out @utah.gov)
  • Password: your current password
Self Service Portal Screenshot

Android Utah.gov Gmail Setup

If you have already configured MDM on your Android device, then your email should already be set up.

RSA SecurID Setup

To set up RSA SecurID on your mobile device, please see the “RSA SecurID Token Information” instructions.

Troubleshooting

If you have trouble with the registration process, or issues with MDM on your device, please contact Help Desk Support.